


![Aldex Premium 10% Cross Link Resin for Water Softener [High Capacity]-SoftPro® Water Systems](http://www.softprowatersystems.com/cdn/shop/files/Aldex_10_Cross_Link_Resin_Premium_High_Capacity_for_Water_Softener_600x.jpg?v=1735853599)


SOFTPRO WATER SOFTENER
ALTERNATIVE INSTALLATION GUIDE
SALT-FREE SOFTENER
CONDITIONER
Please read this manual carefully before attempting installation.
Read this manual thoroughly to become familiar with the device and its capabilities before installing
or operating your Water Softener.
Failure to follow instructions in this manual could result in personal injury or property damage.
This manual will also help you to get the most out of your Softener.
NOTICE: THIS PRODUCT HAS A LIMITED WARRANTY. BY INSTALLING AND OR USING THIS PRODUCT, YOU WAIVE CERTAIN LEGAL RIGHTS INCLUDING THE RIGHT TO SUE OR CLAIM COMPENSATION IN THE EVENT OF PROPERTY DAMAGE, INJURY, AND OR DEATH.
WHAT TO EXPECT WITH YOUR NEW SALT-FREE
WATER SOFTENER/ CONDITIONER?
Salt-free water softeners leave these minerals in the water by neutralizing them instead. To neutralize these minerals the salt-free system converts the calcium and magnesium into crystallized forms that are not able to adhere to surfaces such as pipes, dishes, and faucets. Calcium and Magnesium can have health benefits, so leaving them in your water can be beneficial.
Salt-Free Water Conditioners create hardness crystals but leave minerals present in the water. The crystals will not adhere to surfaces so you will see a reduction in scale build up. ... Salt based systems will outperform salt free for overall water softening. But the salt-free softener alternative require little maintenance, no electricity no backwashing and no salt making it a great choice for those on city water with hardness less than 20 GPG or 342 PPM especially in areas that have banned the use of traditional salt based softeners.


You are now ready to install your new water
filter system.
GENERAL INSTRUCTIONS
Below are the installation instructions to get you up and running in no time. We highly recommend that you follow along in our simple installation videos.
Typical Install Times:
- 3 hours for a Handyman/ Plumber
- 4 hours for DIY


PRODUCT OPERATION AND SPECIFICATIONS


PRODUCT OPERATION AND SPECIFICATIONS
| Specification Description | Specification Description |
|---|
| Max Flow Rate | 10 GPM | Maximum Vacuum | 5 inch/ 127 mm Hg |
|---|---|---|---|
| Minimum Working Pressure | 25 PSI | Operating Temperatures | 36°F – 120°F |
| Maximum Working Pressure | 80 PSI | pH Range | 7-11 |
IMPORTANT INFORMATION
- Read these instructions carefully and determine the location of all system components before beginning installation
- Check all applicable plumbing, building, and electrical codes for installation compliance.
- Install the system on the main water supply
- The use of Teflon tape and/or pipe thread seal paste will be needed on all threaded connections.
WATER CONDITIONS FOR OPERATION
- The water should be free of hydrogen sulphide, a dissolved gas with a characteristic smell of rotten eggs. If present, it can coat the catalytic surface of the media and interfere with the process. The gas should be removed through adequate pre-treatment.
- The water should be free of hydrocarbons, oils, and lubricants. If present, they can coat the catalytic surface of the media and interfere with the process. Remove through adequate pre-treatment.
- The water should contain less than 1 mg/l of phosphates. Phosphates sequester dissolved hardness molecules preventing them from forming crystals and may coat the catalytic media surface and interfere with the process.
- The copper level in the water supply should be below the MCL of 1.3mg/L. If copper is present above this level, it can attach to the surface of the catalytic media and interfere with the process.
- Optimal performance should have a water hardness less than 15 GPG (256 PPM).
- Not for use if water contains iron, sulfur, manganese in the water.
Warning: If this or any other system is installed in a metal (conductive) plumbing system, i.e. copper or galvanized metal, the plastic components of the system will interrupt the continuity of the plumbing system. As a result, any errant electricity from improperly grounded appliances downstream or potential galvanic activity in the plumbing system can no longer ground through contiguous metal plumbing. Some homes may have been built in accordance with building codes, which encouraged the grounding of electrical appliances through the plumbing system. Consequently, the installation of a bypass consisting of the same material as the existing plumbing, or a grounded "jumper wire" bridging the equipment and re-establishing the contiguous conductive nature of the plumbing system must be installed priorto your systems use.
Caution: When adding a filtration/softening system to homes/buildings supplied by well water, we do not recommend the Sat-Free water softener systems and if if installed you void all warranties, guarantees and will not be allowed to return the system.
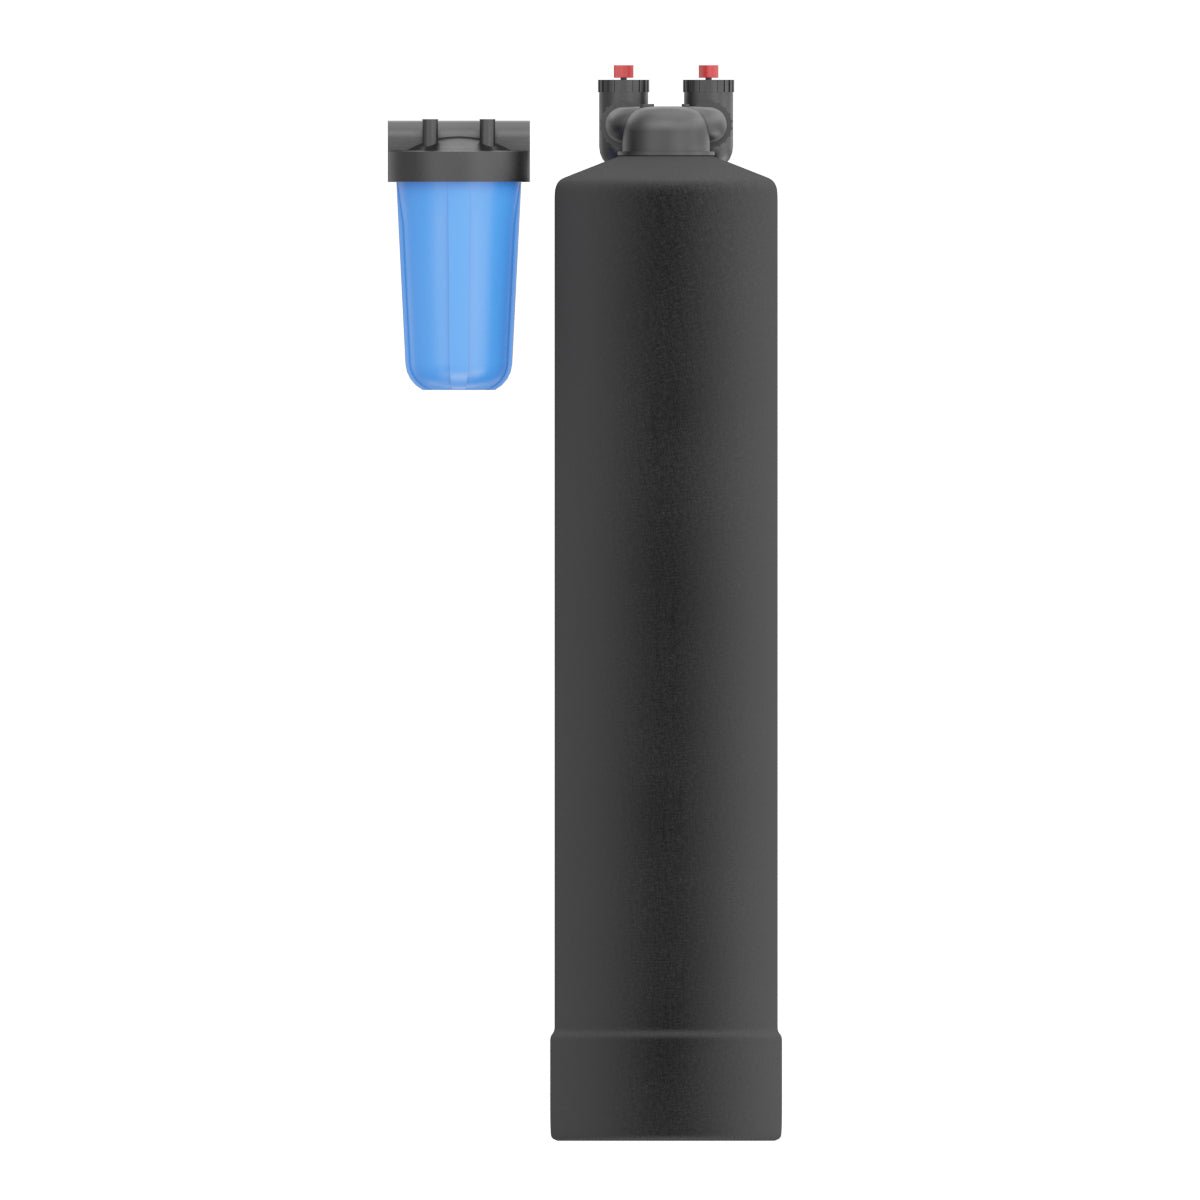
PARTS LIST


NOTE: Additional fittings will be needed to adapt to your plumbing.
NOTE: Up flow head may come loose in packaging. Please check head if on tank by hand tightening only.
NOTE ON PVC PLUMBING: If PVC plumbing and using quick-connect hoses, install a PVC to CPVC adapters at the ends of the supply side and return side pipes.
Using Additional Whole House Filters
Or Other Treatment Systems?
If you have additional water treatment filters (i.e. whole house filter, iron filter or pH neutralizer), those systems should always be installed before the water softener or water conditioner
The water softener is the final treatment systems in your complete water treatment. (The exception is for a UV Disinfection System, which will be placed after the water softener.)
GENERAL WATER SOFTENER TREATMENT SETUP
The following shows common setups for A) city water, and B) well water sources. These system setups include optional additional filter options.
A) CITY WATER TREATMENT SETUP

Treated/ Untreated Water Hose Bib Options:
If you want filtered, soft water access, you can install a tee fitting, hose bib and plumbing after the softener. Soft water uses include washing cars and pets.
You can also install an untreated prior to flowing into the treatment system. Untreated water uses are include testing the source water and washing items that do not need soft wate
METAL PIPE GROUNDING GENERAL INFORMATION

NOTE:
Do not remove the pre-installed drain port hose barb fitting from the SoftPro control valve.
Refer to the appropriate drain type.
This guide is intended for as a general reference. Your specific installation may vary from this guide.
NOTE:
Proper draining function may require an adequate air gap to prevent the possibility of wastewater being
back-siphoned into the treatment system.


NEW INSTALL PLUMBING GUIDE
Refer to the appropriate new installation scenario.
This guide is intended as a general reference.
Your specific installation may vary from this guide.
CAUTION: CUTTING COPPER PIPES?
Install grounding straps prior to cutting.
A. NEW INSTALL WITH A PRE-PLUMBED WATER SOFTENER LOOP
B. NEW INSTALL ON A WATER HEATER LOOP
C. NEW INSTALL BY RE-ROUTING A HOME’S WATER SUPPLY LINE


INSTALLATION OVERVIEW
SIDE VIEW

TOP VIEW


